Beginner’s Guide to Log Cabins (Made Simple) from SAVERSTREET
So, you’re thinking about getting a log cabin but have no idea where to begin? You’re in the right place. This guide takes you from the very first “hmm, maybe a cabin…” thought all the way to choosing the right style, setting it up, and keeping it looking great for years to come.
We’ll cover everything: what you’ll use it for, planning permission, foundations, assembly, and maintenance. Basically, all the important stuff — without the boring jargon.
Step One: What’s It For?
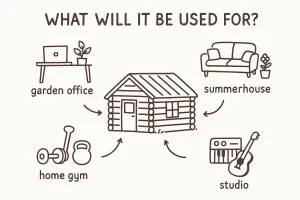
Log cabins aren’t pocket-money purchases. With price tags running into the thousands, it’s worth knowing what you want before you buy. A cabin can be:
- A cosy summerhouse for relaxing with friends.
- A garden office that saves your sanity from the daily commute.
- A hobby den, gym, or workshop.
- Even a guest room for when the in-laws visit.
The key is matching your log cabin to your lifestyle. Buy one that’s too lightweight for your plans (like trying to squeeze a home gym into a flimsy summerhouse), and you’ll regret it.
Top tip: Go for quality over size. A smaller, well-built log cabin beats a huge, cheap one every time.
Step Two: What Type of Log Cabin?
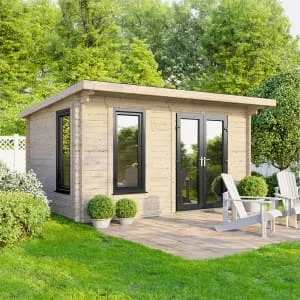
Once you know what you’ll use it for, you can start looking at styles. Cabins aren’t one-size-fits-all, and there’s a surprising amount of choice:
- Classic Log Cabins: Four walls, an apex roof — simple and timeless.
- Corner Log Cabins: Perfect for smaller gardens, tucking neatly into corners.
- Multi-room Log Cabins: Extra walls inside so you can split the space into different zones.
Roof Styles (Yes, They Matter!)
- Apex: The classic “A” shape. Tall, great for storage, but needs more space.
- Reverse Apex: Like apex, but rotated. Great for long, thin cabins.
- Flat or Pent: One sloping panel. Budget-friendly and space-saving.
- Off-set Apex: A quirky in-between with extra headroom.
- Split Level: Adds visual interest and sometimes sneaky extra windows.
Step Three: Things Worth Considering
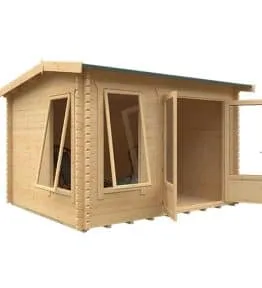
Log Cabins aren’t just about looks — the nuts and bolts matter too. Here’s what to watch out for:
- Walls: Slow-grown timber like European redwood lasts longer than faster-grown options. Go for thicker logs (44mm+) if you want all-year usability.
- Floors: Thick, tongue-and-groove boards feel sturdier and last longer — especially if you’re planning a gym or workshop.
- Roofs: Don’t just think about the shape — the covering counts. Options include:
- Roof felt: Cheap and cheerful, but quality varies.
- Shingles: More stylish and weather-resistant.
- EPDM: Super tough, long-lasting, but not the prettiest.
- Windows: Glass (single, double, or triple-glazed) for warmth and insulation. Or opt for styrene if kids will be running around.
- Doors: Think about access, security, and how much you’ll be moving in and out. (Home studio = sturdy doors; summerhouse = maybe glazed doubles for style.)
Step Four: Do You Need Planning Permission?
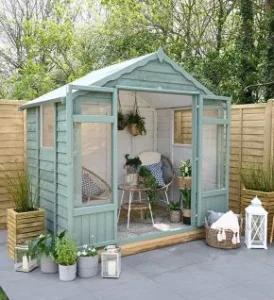
The boring bit — but important. Most cabins don’t need planning permission, but there are exceptions. You may need permission if:
- It’s taller than 2.5m and closer than 2m to your boundary.
- It’s bigger than 30m² inside.
- It takes up more than half your garden.
- Someone’s going to live in it.
- Your home is listed or in an Area of Outstanding Natural Beauty.
- You want to plonk it in the front garden facing the road.
⚠️ Check before you buy! Rules can change, so it’s always worth checking the UK Government planning portal.
Step Five: Laying the Foundations
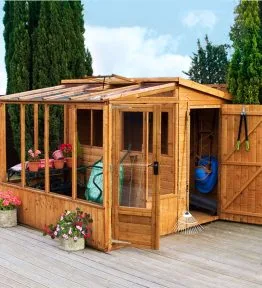
This is where your cabin goes from dream to reality. Think carefully about:
- Position: A cabin with a view makes for a nicer retreat. Sun or shade? Office vs summerhouse will change what you prefer.
- Base: A level base is essential. Paving works, but concrete is best for heavy-use cabins.
- Spacing: Leave at least three feet around it for maintenance. You’ll thank yourself later.
- Power: Want electricity? Plan it early and get a qualified electrician involved.
Remember: Water is the enemy. Don’t put your cabin somewhere prone to damp or flooding.
Step Six: Assembly (AKA The Fun Bit)
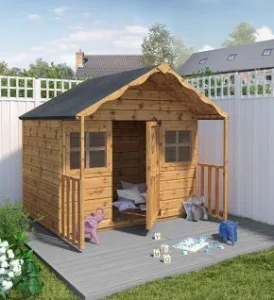
Most cabins are designed for DIY assembly, but you’ll still need a few basics:
- Spirit level
- Electric screwdriver
- Mallet & hammer
- Handsaw
- Utility knife
- Stepladder
- Silicone sealant
…and ideally a couple of helpful friends.
Not keen on DIY? Most suppliers offer assembly services (for a fee). Whichever way you go, make sure delivery is included — and that it’s professional. You don’t want damaged logs arriving on day one.
Step Seven: Maintenance
A log cabin isn’t a “buy and forget” structure — it needs love to last.
- Treat the wood: Use a good oil-based wood preserver. Clear or tinted, applied yearly, and don’t forget the hidden spots.
- Clean regularly: Sweep off leaves and debris, especially from the roof and gutters.
- Allow it to breathe: Every few years, take off frames and fascias to let the timber relax, then refit.
- Keep on top of small fixes: A little TLC now saves major repairs later.
Tip: Always wait until the cabin is built before doing the first treatment — it gives a tighter fit and better protection.
Final Thoughts
A log cabin is one of the best ways to add usable space, value, and charm to your home. Whether it’s a summerhouse, office, or workshop, the key is planning well, buying smart, and looking after it once it’s up.
Get those three right, and you’ll have a garden retreat that brings joy for years to come.
Why Choose Our Products for your application?
According to experts from the https://www.bheta.co.uk/ ,research is key when planning any DIY application.
- Treat the wood: Use a good oil-based wood preserver. Clear or tinted, applied yearly, and don’t forget the hidden spots.
- Clean regularly: Sweep off leaves and debris, especially from the roof and gutters.
Backed by Industry Experts
Research from organizations like https://www.bheta.co.uk/ ,research is key when planning any DIY application.
- Allow it to breathe: Every few years, take off frames and fascias to let the timber relax, then refit.
- Keep on top of small fixes: A little TLC now saves major repairs later.
Get Started with Saverstreet Today
Ready to take your projects to the next level? Browse our extensive range of products at Saverstreet.co.uk and find the perfect products for your needs. Whether you’re tackling a home renovation or a professional build, or just treating your pets we’ve got you covered with top brands, competitive prices, and expert advice.

