
Wood At SAVERSTREET We Believe Wood floors are a timeless and beautiful addition to any home.
They’re durable, stylish, and—contrary to what you might expect—perfect for busy family life.
Wood is great for Kids, pets, and everyday wear and tear can take their toll, but the real advantage of wood floors is that they can be sanded and refinished multiple times over the years.
That means you can refresh them when damage appears or even change the look entirely without the expense of replacing them.
️ What You’ll Need For Laying A Wood Floor
Before you start, gather your tools and safety kit:
- Goggles
- Dust mask
- Ear protection
- Brush or vacuum cleaner
- Sander (a drum sander for large areas + edging sander for corners if possible)
- Sandpaper: 12 sheets (24 grit), 8 sheets (40 grit), 8 sheets (80 grit), 5 sheets (120 grit)
- Optional: Wood stain for colour
- Varnish (satin finish recommended) + brush
If you’re decorating the whole room, sand last—otherwise, the dust will ruin your fresh paint or skirting boards.
Step 1: Preparation For Wood Floors
- Clear the room: Remove furniture, rugs, curtains, and even doors if you can.
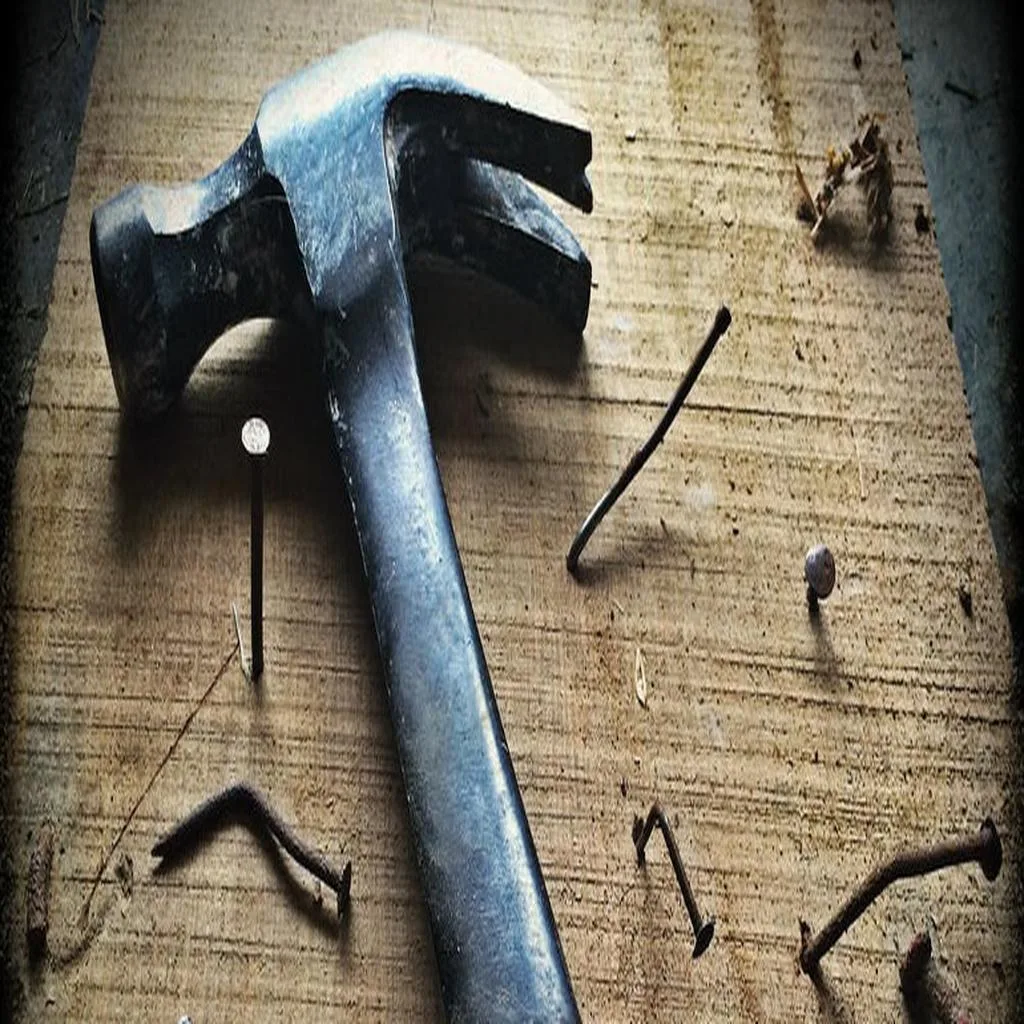
- Check for hazards: Remove staples and screws, and hammer any nails at least 2mm below the surface.
- Clean thoroughly: Vacuum, then wipe with a damp cloth and allow the floor to dry.
- Fill gaps: If there are large gaps, fill them with papier-mâché or a suitable filler.
️ Step 2: Protection
There are two areas to protect—your home and yourself.
- Home protection: Seal windows, doors, and vents so dust doesn’t escape. Cover plug sockets and cracks with masking tape.
- Personal protection: Wear goggles, ear defenders, and a dust mask. Keep windows open for ventilation.
⚠️ Safety tip: Always unplug the sander before changing sandpaper.
✨ Step 3: Sanding Process
The golden rule: always sand with the grain, never against it.
- Start with 24 grit sandpaper to strip off old finishes.
- Progress to 40 grit, then 80 grit, and finish with 120 grit for a smooth surface.
- Use a drum sander for the main floor and an edging sander for corners and edges.
- Don’t skip grits—each stage ensures a professional finish without scratches.
When you’re done, carefully exit the room to avoid carrying dust through the house.
Step 4: Varnishing (and Staining if Desired)
Once sanding is complete, it’s time to seal and protect your floor.
- Clean up: Vacuum or brush away all dust.
- Stain (optional): If you want to change the floor colour, apply wood stain first. Drying can take 6–24 hours depending on the brand.
- Varnish: Apply in thin coats with the grain. Satin finish is recommended—it reduces glare, hides imperfections, and looks modern.
- Coats: Apply 3 coats (4 for high-traffic areas), allowing each to dry before applying the next.
After 24–48 hours (check the product instructions), you can move your furniture back in.

Step 5: Aftercare
To keep your newly sanded floors looking their best:
- Vacuum regularly.
- Wipe with a damp (not wet) cloth.
- Avoid harsh chemicals that can damage the varnish.
With minimal maintenance, your wood floors will look stunning for years to come.
Final Thoughts
Sanding your own wood floors may sound daunting, but with the right tools, safety precautions, and patience, it’s a very achievable DIY project. Not only does it restore beauty and warmth to your home, but it also saves money compared to hiring a professional.
If you’re unsure or nervous about tackling it, don’t hesitate to get advice—or call in a pro. Either way, a freshly sanded and varnished floor is a transformation worth the effort!
Why Shop at Saverstreet?
At Saverstreet.co.uk, we’re committed to offering high-quality products at prices that won’t break the bank. Our curated selection includes tools for every skill level, from beginners to seasoned pros. Plus, with fast UK delivery and expert customer support, we make it easy to get the tools you need, when you need them.
Get Started with Saverstreet Today
Ready to take your projects to the next level? Browse our extensive range of tools at Saverstreet.co.uk and find the perfect tools for your needs. Whether you’re tackling a home renovation or a professional build, we’ve got you covered with top brands, competitive prices, and expert advice.
What’s your next project? Share your ideas in the comments below or contact our team for personalised recommendations. Let’s build something amazing together!
We have teamed up with online flooring retailer Luxury Flooring & Furnishings to create a guide on sanding your floor, from start to finish. But before you begin, here is a list of what you will need:
I do not even know how I ended up here but I thought this post was great I do not know who you are but certainly youre going to a famous blogger if you are not already Cheers
Thank you for your positive comments.
Thank you for your comments much appreciated follow us on facebook at https://www.facebook.com/SaverStreetUK
I do believe all the ideas youve presented for your post They are really convincing and will certainly work Nonetheless the posts are too short for novices May just you please lengthen them a little from subsequent time Thanks for the post
Thank you for your comments and we will have a look at what we can do.
I just wanted to drop by and say how much I appreciate your blog. Your writing style is both engaging and informative, making it a pleasure to read. Looking forward to your future posts!
Glad you like our posts it is good to get feedback
Thank you for your comments much appreciated follow us on facebook at https://www.facebook.com/SaverStreetUK