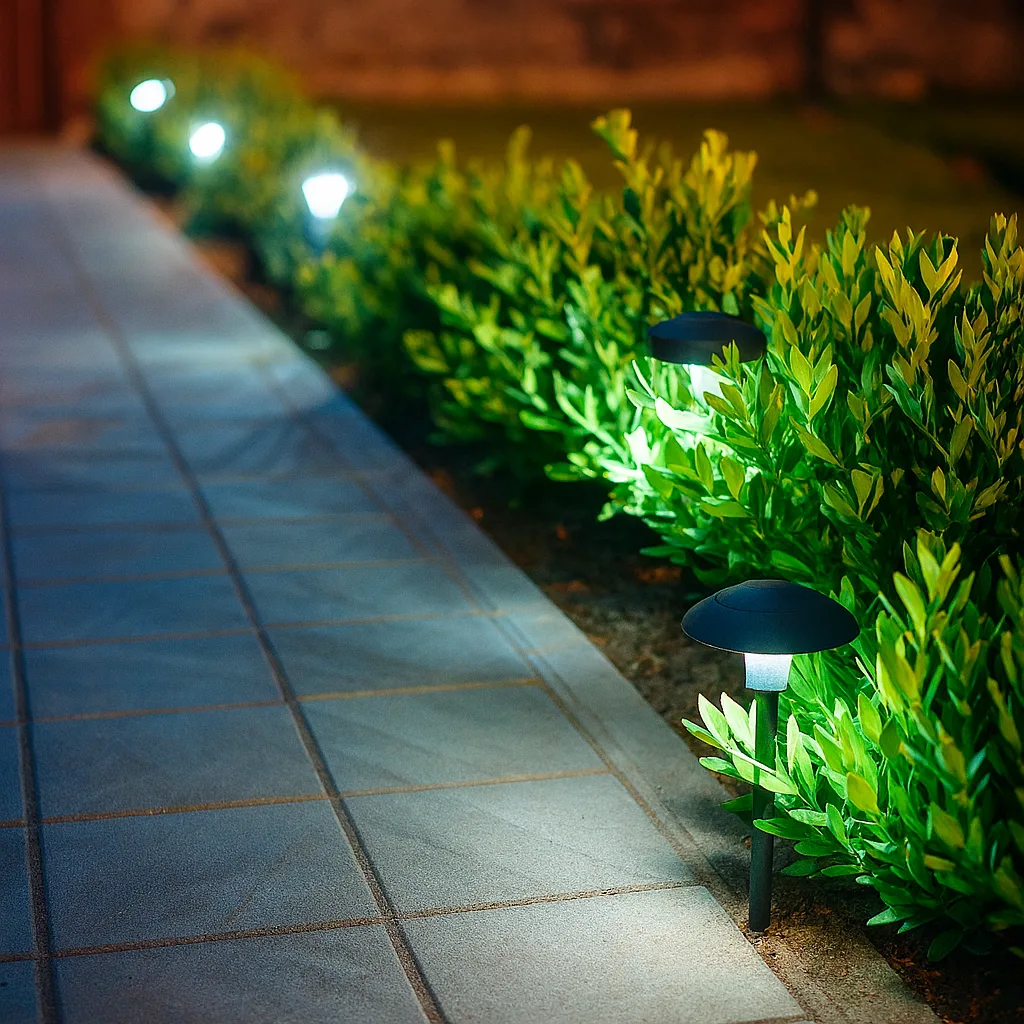
How to Install Landscape Path Lighting (Without Losing Your Sanity) by SAVERSTREET
There’s something magical about a garden that glows after dark — soft pools of light guiding your steps, highlighting your favourite plants, and giving your outdoor space that extra touch of elegance. But before you start dreaming of moonlit strolls and ambient Instagram shots, let’s talk reality: installing landscape path lighting isn’t just about aesthetics. It’s about wiring. And wiring isn’t for everyone.
At SAVERSTREET, we always recommend checking out our blog on the pitfalls of DIY electrical fitting over at DIY Electricians. It’s a must-read if you’re even thinking about taking on this kind of project solo. That said, if you’re confident in your skills and ready to roll up your sleeves, here’s a step-by-step guide to help you light the way.
Tools You’ll Need
- Outdoor lighting package
- Spade & mattock
- Outlet box
- Spray paint
- 4-in-1 screwdriver & adjustable wrench
- Non-contact voltage tester
- Wire stripper/cutter
- Trenching shovel
- Underground feeder cable
️ Step 1: Plan Like a Pro
Set aside a full day — this isn’t a quick weekend fix. Start by marking where each lighting fixture will go using spray paint. Then dig a trench connecting each point. This trench will house your wiring, so make sure it’s deep enough and leads to a GFCI-protected outlet that isn’t overloaded. If your outlet box isn’t big enough to handle the extra wiring, upgrade it before you go further.
⚠️ Important: Outdoor lighting installation is classed as notifiable electrical work under Part P of the Building Regulations. Contact your local council before you start.
Step 2: Assemble & Position Fixtures
Unbox your lighting kit and follow the manufacturer’s instructions to assemble each fixture. Add bulbs and test them — replace any duds. Place each fixture on its marked spot, but don’t drive the stakes in fully just yet. You might want to tweak the layout once you see how the light falls.
Step 3: Wire It Up
Use direct burial connectors or a hub system to connect each fixture to the underground cable. A hub system can make future troubleshooting much easier by centralising your splices.
Step 4: Test the Voltage
Use a voltmeter to check that each fixture is operating within the correct range:
- LED lights: 9–15v
- Halogen lamps: 10–12v
If any fixture is underpowered, connect that run to a higher voltage tap to bring it into range.
Step 5: Bury the Wires
Once everything’s working, bury the cable in the trench. Take care to avoid sharp bends or shallow coverage — you want this setup to last.
Step 6: Evaluate After Dark
Daylight installation is fine, but the real test comes at night. Once the sun sets, take a walk through your garden and adjust the fixtures to highlight key features. Most units are adjustable, so aim for balance and beauty.
Final Thoughts
Installing landscape lighting is a rewarding project — if you know what you’re doing. It requires electrical knowledge, careful planning, and a bit of carpentry finesse. If that sounds like a stretch, don’t worry. There are plenty of professionals who can take the stress off your shoulders and still deliver that dreamy garden glow.
And if you’re shopping for lighting kits, tools, or accessories, you know where to go SAVERSTREET , where quality meets value and you save 5% for life when you shop through our site.
Why Choose Our Products for your application?
According to experts from the https://www.bheta.co.uk/ ,research is key when planning any DIY application.
Step 1: Plan Like a Pro
Set aside a full day — this isn’t a quick weekend fix.
Backed by Industry Experts
Research from organizations like https://www.bheta.co.uk/ ,research is key when planning any DIY application.
Evaluate After Dark
Daylight installation is fine, but the real test comes at night
Trusted by Saverstreet Customers
At Saverstreet, we care deeply about our customers. That’s why we offer only hand-selected, quality-tested products that make your life easier and more enjoyable.
Installing landscape lighting is a rewarding project — if you know what you’re doing. It requires electrical knowledge, careful planning, and a bit of carpentry finesse. If that sounds like a stretch, don’t worry. There are plenty of professionals who can take the stress off your shoulders and still deliver that dreamy garden glow.

